
Management
The SafeNet Agent for Microsoft IIS Configuration Tool allows for the modification of various features available within the agent.
Note
Administrative rights to the Windows system are required when installing, migrating, configuring, and uninstalling SafeNet Agent for Microsoft IIS.
Policy
The Policy tab provides the ability to select a website and then protect web-based resources with SafeNet authentication.
When a website is selected, all settings defined within each tab apply to the specific website.
If another website is selected, all tabs revert to their customized or default settings, allowing a different configuration to be applied.
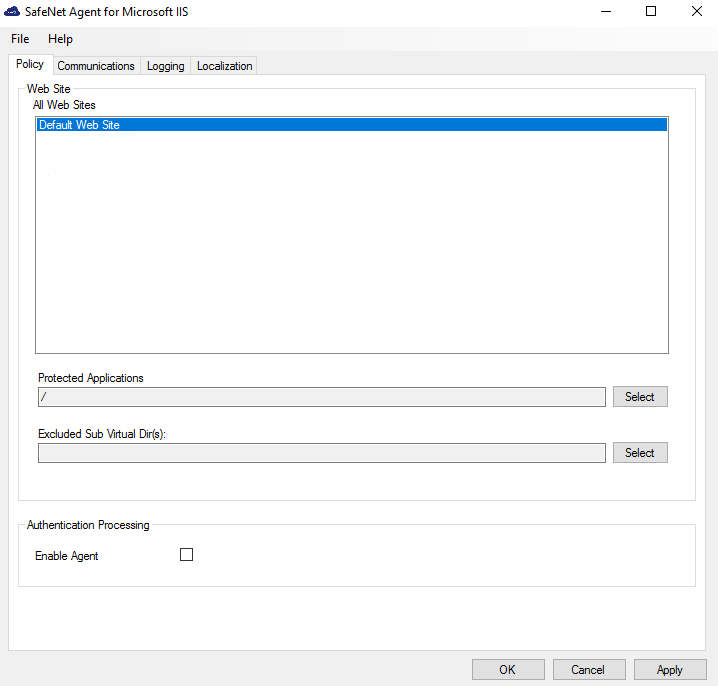
Web Site
- All Web Sites: Allows the selection of the website. The website selection will determine the list displayed within Protected Applications.
- Protected Applications: Allows the selection of an application or a virtual directory (single or multiple).
- Excluded Sub Virtual Dir(s): Allows you to select the sub virtual directories that you want excluded from the authentication.
Authentication Processing
- Enable Agent: Turns the SafeNet Agent for Microsoft IIS on or off.
The default value is Disabled.
Communications
This tab primarily deals with connection options between the SafeNet Agent for Microsoft IIS and the SafeNet Trusted Access (STA). The settings under the Communications tab are common to all websites.
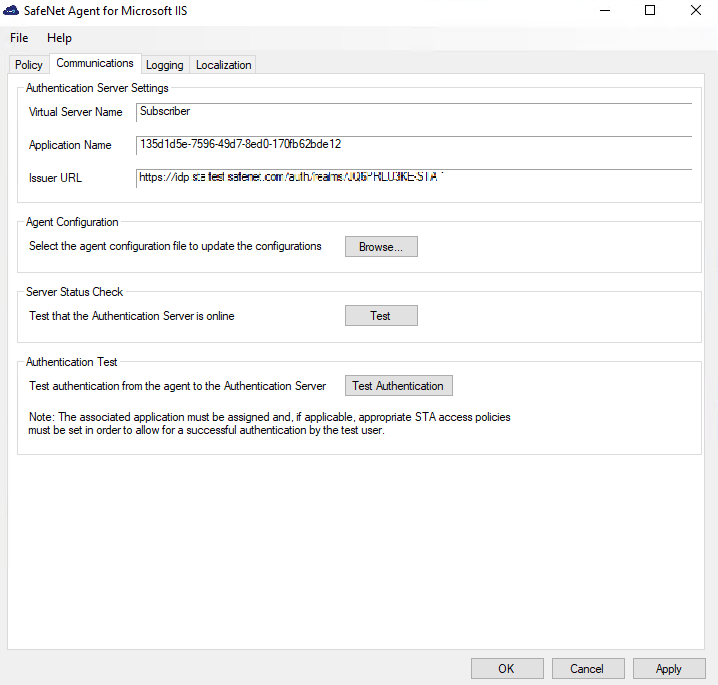
Authentication Server Settings
The values in the following fields are populated from the uploaded configuration file:
- Virtual Server Name: [The STA account.]
- Application Name: [The name of the template as provided in the STA.]
- Issuer URL: [The authentication end-point for STA.]
Agent Configuration
If you skipped and did not provide the agent configuration file during installation, you need to provide it here.
Click Browse to select the agent configuration file (as downloaded from the STA) to update settings.
Clicking Apply will save the configuration.
During the installation, if you provided the agent configuration file or it was detected automatically, values in the fields under Authentication Server Settings will be automatically populated.
Server Status Check
Click Test to confirm if the Authentication Server is online or not.
Authentication Test
Enable the agent and then run a communication test to verify the connection between the SafeNet Agent for Microsoft IIS and the STA.
Clicking Test Authentication opens a browser window with the STA URL to allow connection testing.
Note
In the IIS Agent Management Console, legacy protocols (TLS 1.1, TLS 1.0, SSL) are no longer supported. When testing authentication through the console, only TLS 1.2 will be used.
Logging
When a website is selected, the settings under the Logging tab apply to the specific website.
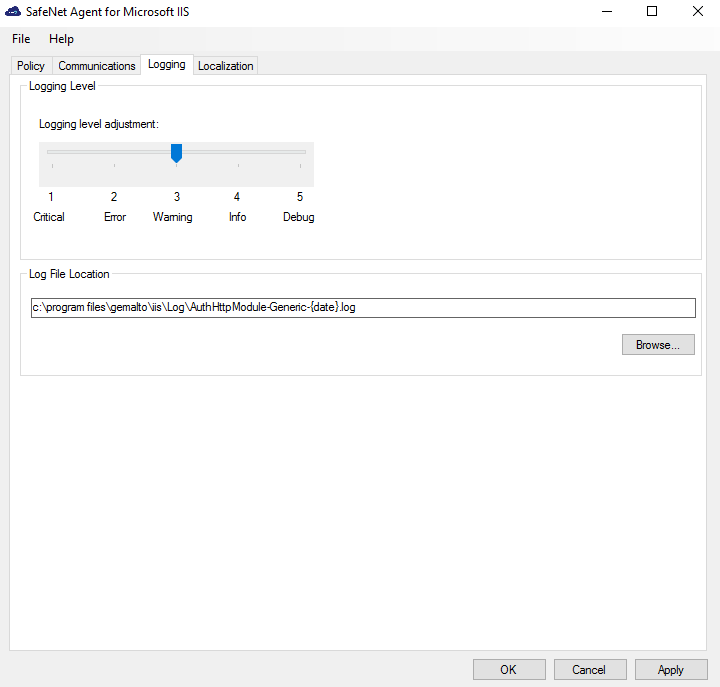
Logging Level
It helps adjust the logging level:
- For log levels 1, 2, and 3, only the initial connection between the agent and server attempts are logged.
- Log level 5 sets the agent in debug mode.
- The default value is 3.
Log File Location
It helps specify the location of the log file. The log file is rotated on a daily basis. The default log file location is:
Program Files\GEMALTO\IIS\Log\AuthHttpModule-Generic-{date}.log
Localization
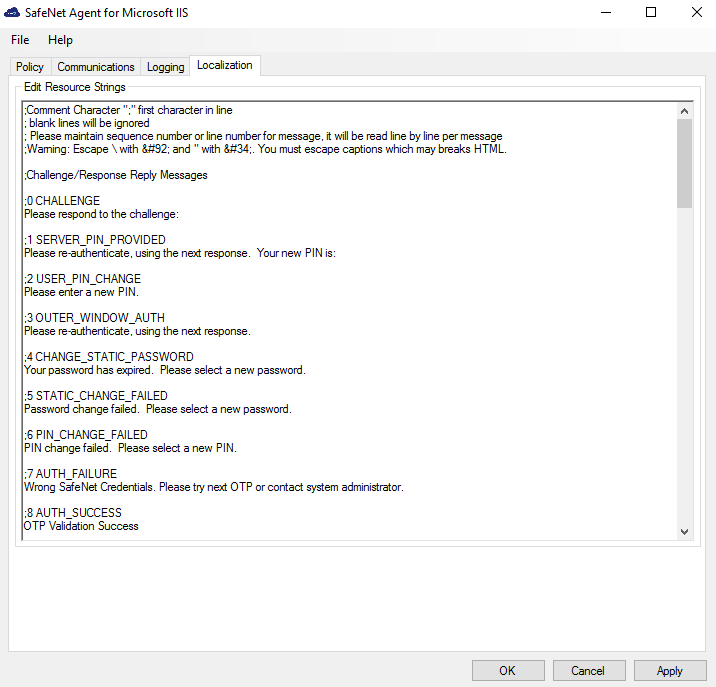
The settings on this tab represent the prompts and information messages supplied by the agent. These can be modified as necessary to improve usability. The Messages.txt file can be modified manually outside of the configuration tool.
The default location of this file is:
Program Files\GEMALTO\IIS\LocalizedMessages
Updating REDIRECT URL
If you need to update the REDIRECT URL after the pre-installation setup, you must download a new configuration file.
-
Login to STA (SafeNet Trusted Access) by providing your Operator credentials.
-
After successful login, the SafeNet Trusted Access console displays the Dashboard of the account.
From the top-right dropdown option, select the required virtual server account. Click the Applications tab. -
From the list of (already) added applications, select the Microsoft Internet Information Services application.
-
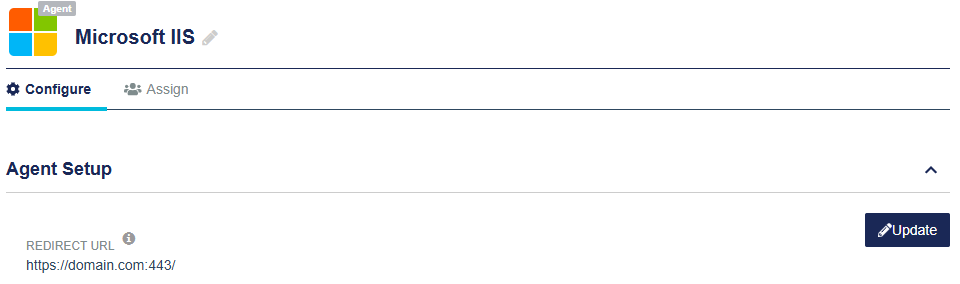
The Agent Setup section is displayed. Click Update for the REDIRECT URL field.
-
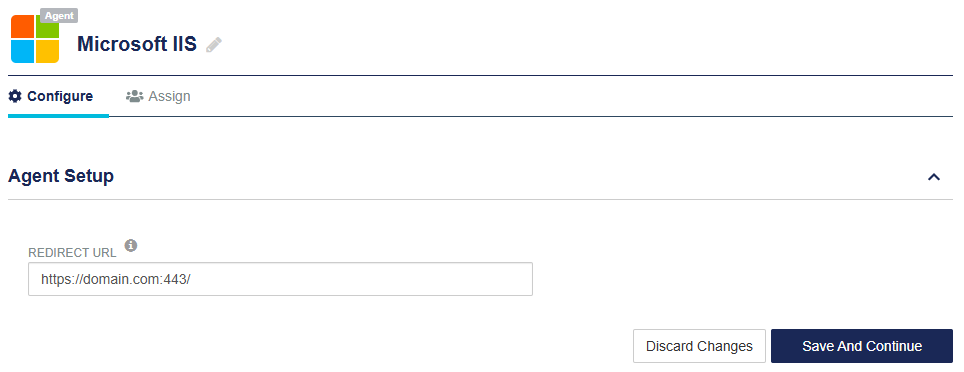
Update the REDIRECT URL, and click Save And Continue.
-
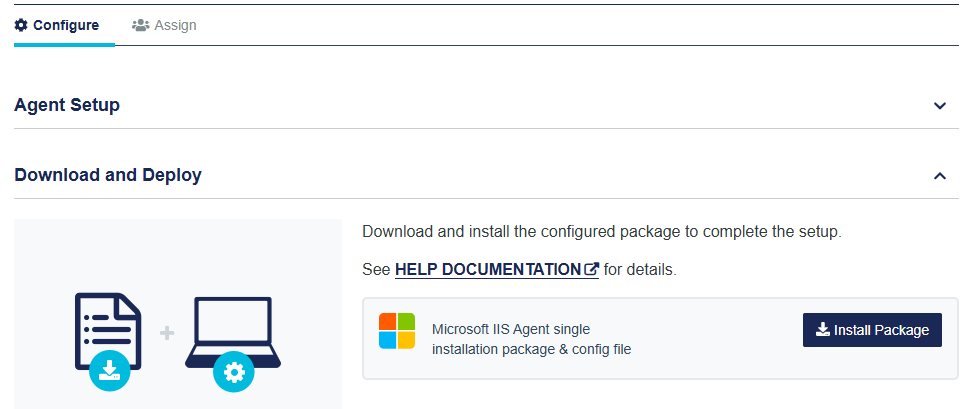
The Download and Deploy section is displayed. Click Install Package button to download the installer and the configuration file.
Note
Once the agent's configuration file is successfully downloaded, the application Status will change to active on the SafeNet Trusted Access console. You need to refresh the console page to view any change in the setup Status.