



Installing SafeNet Agent for ADFS
This section describes how to install the SafeNet Agent for ADFS for use with SafeNet Trusted Access (STA).
Pre-installation checklist
Complete the following tasks before installation:
-
Ensure that the ADFS server is installed and operational.
-
Make a note of your STA service zone FQDN. You need it during installation. To find it, on the STA Token Management console, select COMMS > Auth Nodes. For example, the EU service zone uses
cloud.eu.safenetid.com. -
Add the ADFS server as an auth node in STA. STA only processes authentication requests that come from a registered auth node.
-
Download an agent encryption key file from STA.
-
Install Microsoft .NET Framework 4.8
Note
The installer will automatically download and install .NET Framework on the Primary Server if it is not already available.
.NET Framework must be installed manually on Secondary Servers to enable MFA after the installation/upgrade to this version of SafeNet Agent for ADFS. -
Execute the following PowerShell command to enable the IdP-initiated sign-on page:
Set-AdfsProperties -EnableIdpInitiatedSignonPage $trueThe ADFS IdP-initiated sign-on page (https://<FQDNOfTheFederationService>/adfs/ls/IdPInitiatedSignOn.aspx) is disabled by default. Executing the PowerShell command enables the page.
Add Relying Party Trust for ADFS
The Relying Party Trust must be added manually. The MFA page will not display if the Relying Party Trust is not configured.
After a user successfully logs in, using the AD, view the OTP page (with two sign-in options) as follows:
-
Open ADFS Management.
-
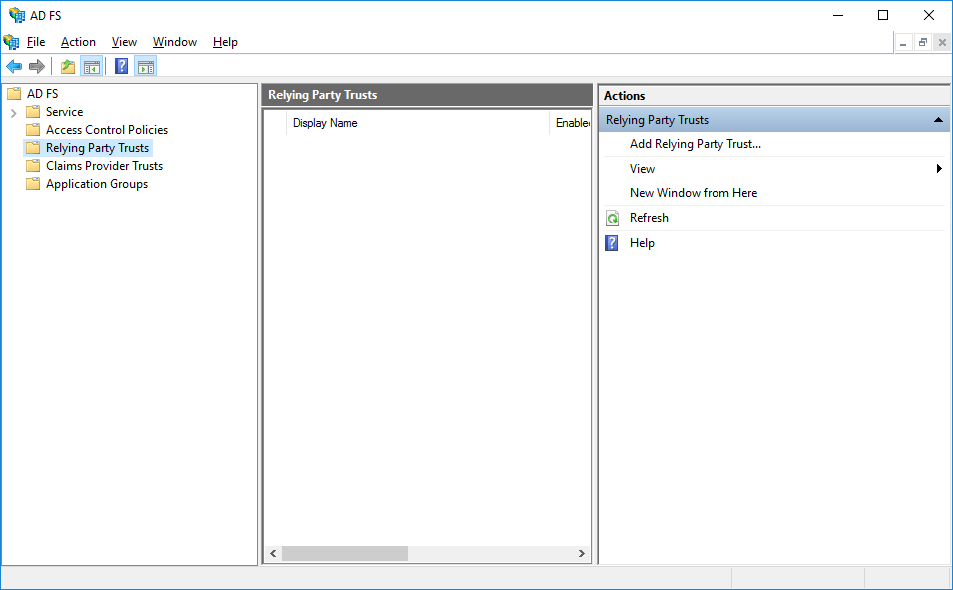
Select Relying Party Trusts, and then click Add Relying Party Trust in the Actions pane.
-
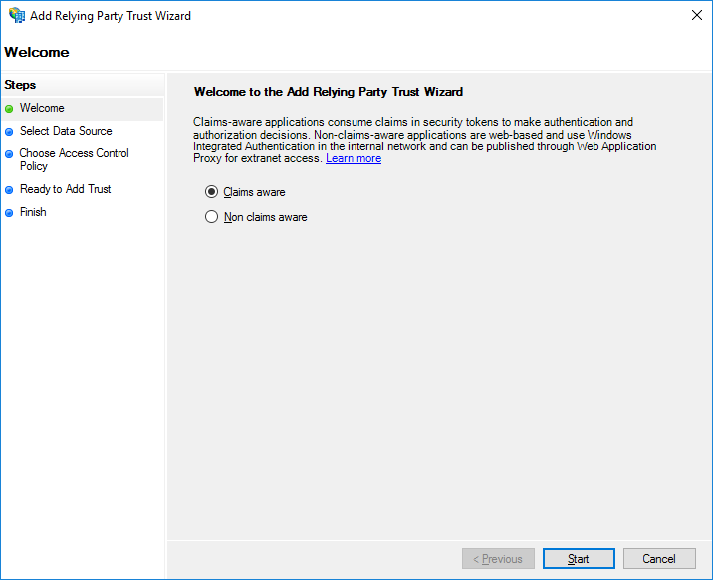
Select the Claims aware radio button and click Start.
-
Enter the URL of the metadata file.
https://<fqdn>/federationmetadata/2007-06/federationmetadata.xml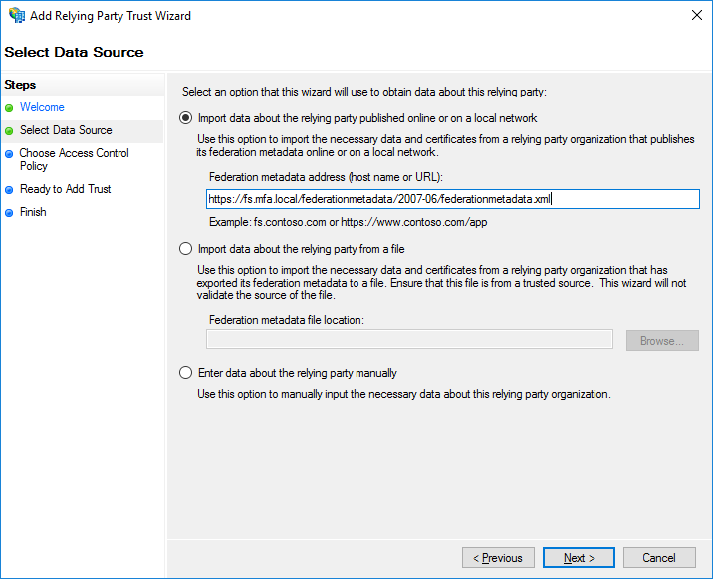
-
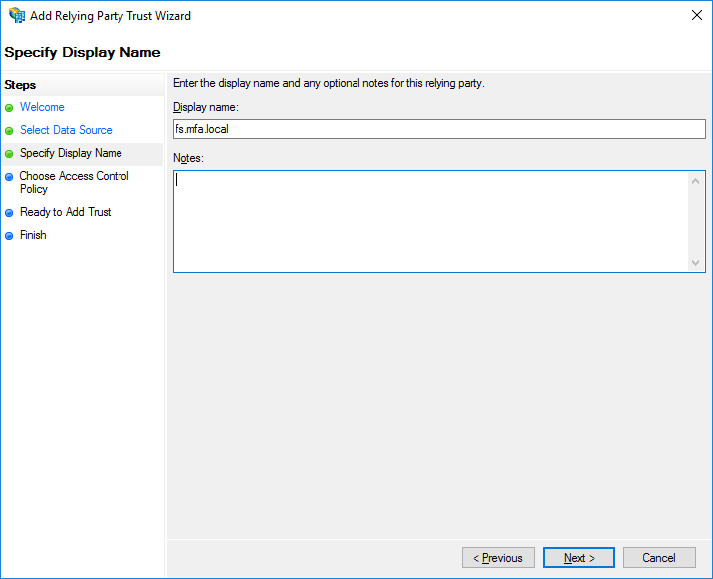
In the Display name field, enter a display name, and click Next.
-
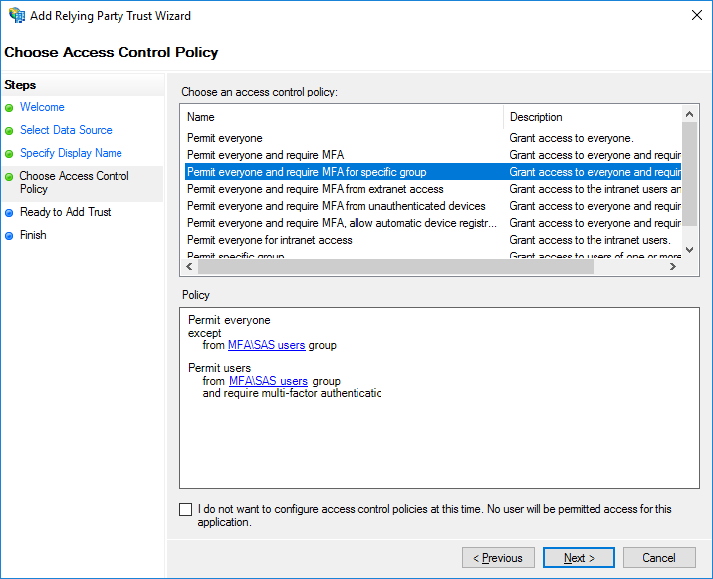
Select an Access Control Policy and click Next.
In the following example, the Permit everyone and require MFA for specific group option is selected.
-
Click Next.
-
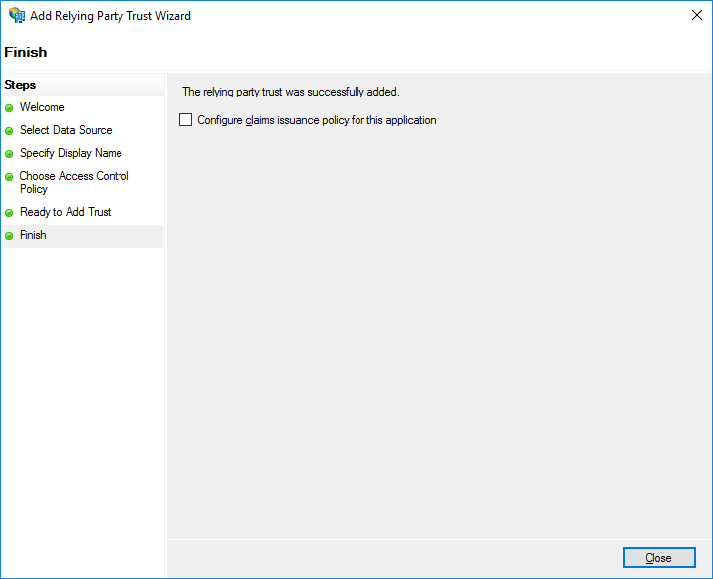
Clear the Configure claims issuance policy for this application checkbox, and click Close.
Note
Documentation to add Relying Party Trust references the Microsoft documentation. Please refer to the official documentation for detailed, accurate, and updated instructions.
Install SafeNet Agent for ADFS
Note
Always work in Run as administrator mode when installing, uninstalling, enabling, or disabling the SafeNet Agent for ADFS.
To install the SafeNet Agent for ADFS:
-
Run the SafeNet Agent for ADFS installer as an administrator:
SafeNet Agent for ADFS.exe -
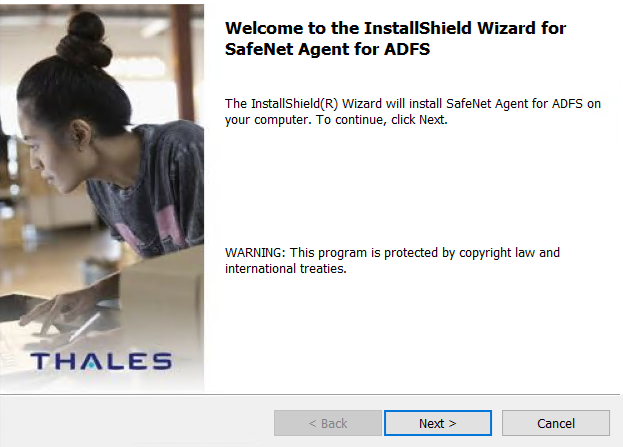
On the Welcome to the InstallShield Wizard for SafeNet Agent for ADFS screen, click Next.
-
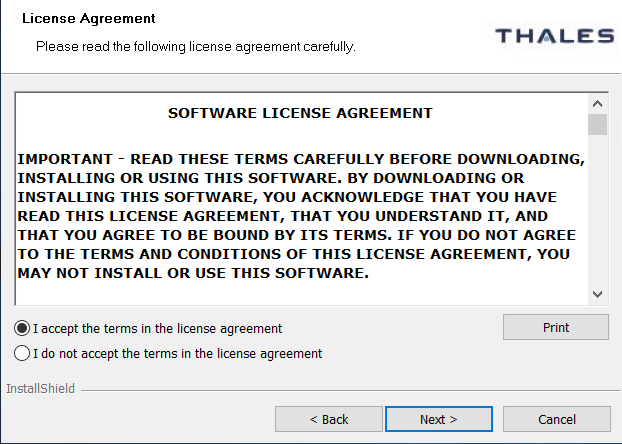
On the License Agreement window, read the software license agreement and to proceed, select I accept the terms in the license agreement, and click Next.
-
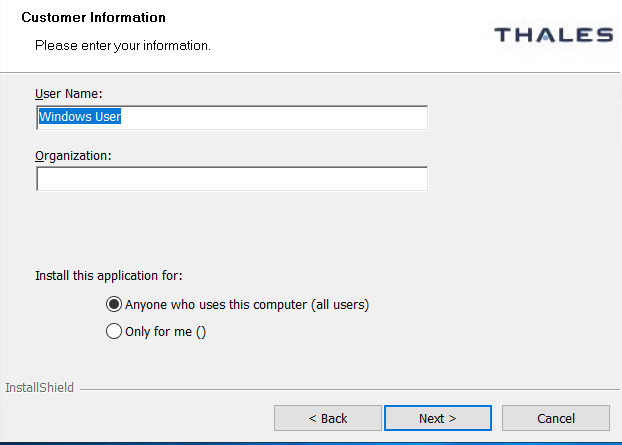
On the Customer Information window, perform the following steps:
- In the User Name field, enter your user name.
- In the Organization field, enter the name of your organization.
- Click Next.
-
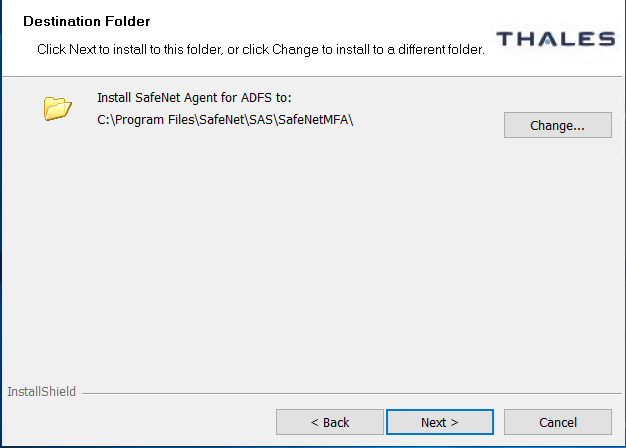
On the Destination Folder window, do one of the following:
- To accept the default installation destination folder, click Next.
- To change the installation folder, other than the default one, click Change, and then browse to locate and select the required folder.
- Click Next.
-
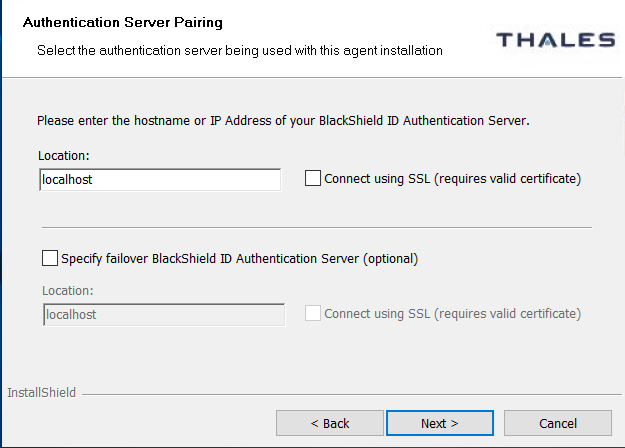
On the Authentication Service Setup window, enter the FQDN of your STA service zone as the primary server.
Note
With STA, you do not host the authentication service yourself, so there is no failover server to enter. Use the service zone FQDN that you noted in the pre-installation checklist, such as
cloud.eu.safenetid.comfor the EU service zone, and leave the failover field empty. -
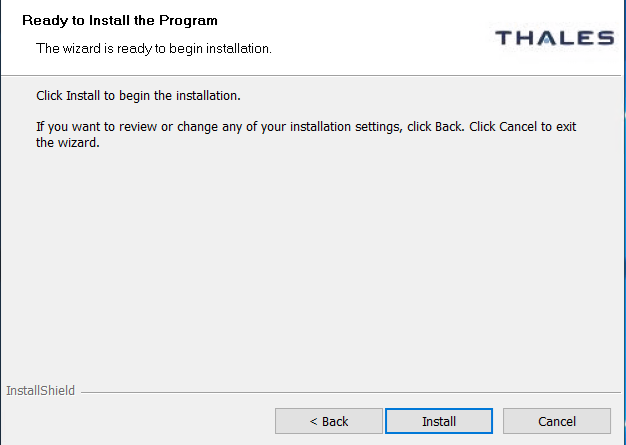
On the Ready to Install the Program window, click Install.
-
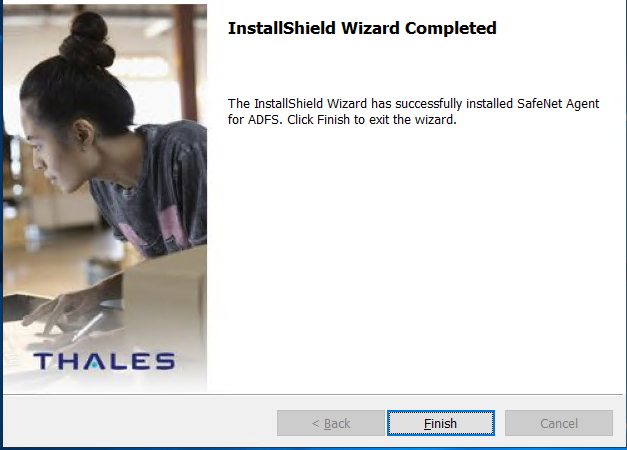
When the installation process completes, the Installshield Wizard Completed window displays. Click Finish to exit the installation wizard.
Required next step for STA
The installer leaves the agent set to its user choice of authenticator (UCA) variant, which requires SAS PCE. Before you roll the agent out to users, set the agent variant for STA by setting IdpEnvironment to 1 in the agent initialization file.
Upgrading and migrating settings for ADFS
SafeNet Agent for ADFS supports upgrades from version 2.01 and later.
Upgrades from version 2.0 and earlier (for example, v1.0, v1.01, and v2.0) are not supported.
Upgrade the agent
Before starting the upgrade process, it is strongly recommended to back up the existing SAFENET-MFA.ini file. This file is located in the agent installation directory (for example: C:\Program Files\SafeNet\SAS\SafeNetMFA\ini).
Follow the steps below to upgrade the agent:
-
Run the latest SafeNet Agent for ADFS installer on the same system where the existing agent version is installed.
-
After the upgrade is complete, open SafeNet Agent for ADFS in Run as Administrator mode.
- Under the Policy tab, clear the Enable Agent check box if it is selected, and then close the console.
-
Open the backed-up version of the
SAFENET-MFA.inifile in a text editor.-
Copy your customized configuration entries and paste them one by one into the latest version of the
SAFENET-MFA.inifile. -
Repeat this process until you have transferred all required custom entries.
-
-
If you are using a language other than English (1033) or French-Canada (3084), you must translate any newly introduced localization strings and add them to the
SAFENET-MFA.inifile.For more information about configuring localization, see localization.
-
After you complete the transfer of all customized entries, save the
SAFENET-MFA.inifile. -
Open SafeNet Agent for ADFS in Run as Administrator mode.
-
Verify that all customized configurations are correctly reflected in the SafeNet Agent for ADFS dialog box.
-
On the SafeNet Agent for ADFS console, under the Policy tab, select the Enable Agent check box.
-
Confirm that
IdpEnvironmentis still set to1in theSAFENET-MFA.inifile. An upgrade can restore the installed default of0, which does not work with STA. See Set the agent variant for STA.
Migrating settings
Automatic migration of settings from an earlier version is not supported. You must manually transfer your customized configurations by following the upgrade procedure above.
Removing users and groups
After you uninstall or deactivate the SafeNet Agent for ADFS, you must remove the users and groups from the ADFS server. Failure to do so can result in subsequent failure to authenticate through the ADFS server.
However, if you are preparing to install a later version of the SafeNet Agent for ADFS, you do not need to remove users and groups from the ADFS server.
Edit an MFA policy for users and groups
To edit an MFA policy for users and groups on the ADFS server:
-
In the ADFS management console, click Relying Party Trust.
-
Select the required Relying Party Trust application and Edit Access Control Policy.
-
Select any policy (from the Access control policy list) that does not require MFA, and apply the changes.

