
Identity Provider (SafeNet Access Exchange) Setup
Configuring the Identity Provider (IdP)(for example, SafeNet Access Exchange) requires creating a client in SafeNet Access Exchange.
Perform the following steps to create a client in SafeNet Access Exchange:
-
Log into SafeNet Access Exchange as an administrator.
-
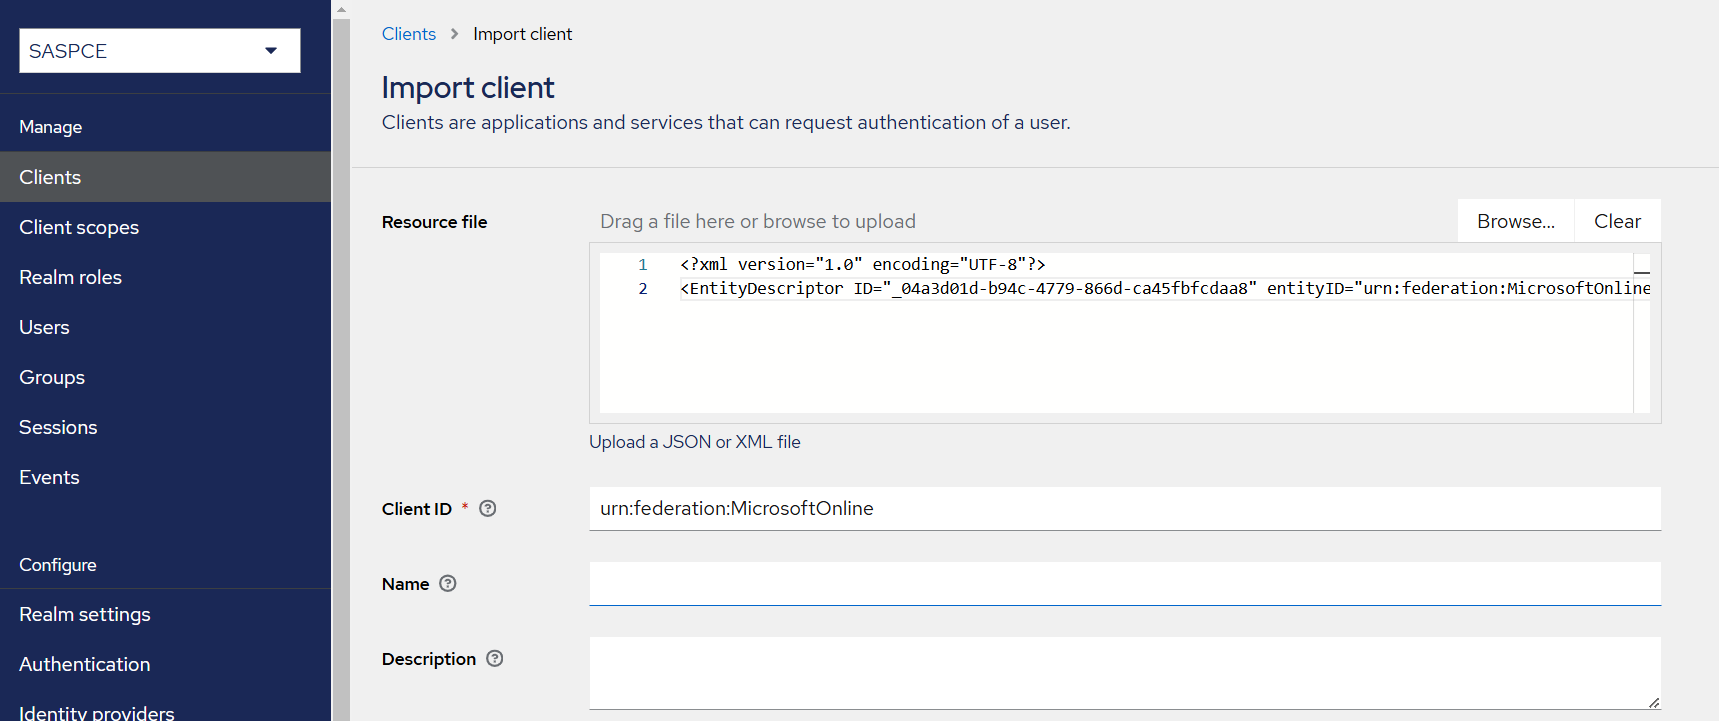
On the administrator console, select your realm (for example, SASPCE).
-
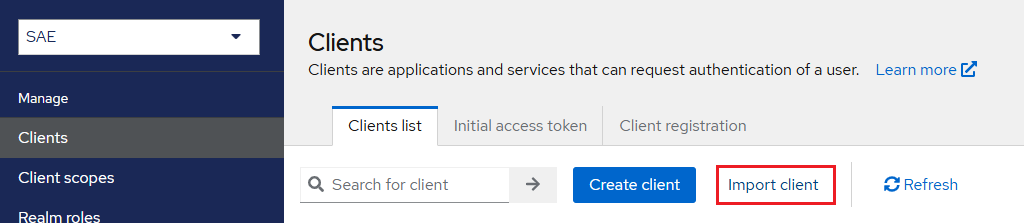
In the left pane, click Clients, and in the right pane, click Import client.
-
Under Import Client, perform the following steps:
-
Under Resource file, click Browse to search and select the Office 365 Global Metadata that you obtained as a prerequisite.
-
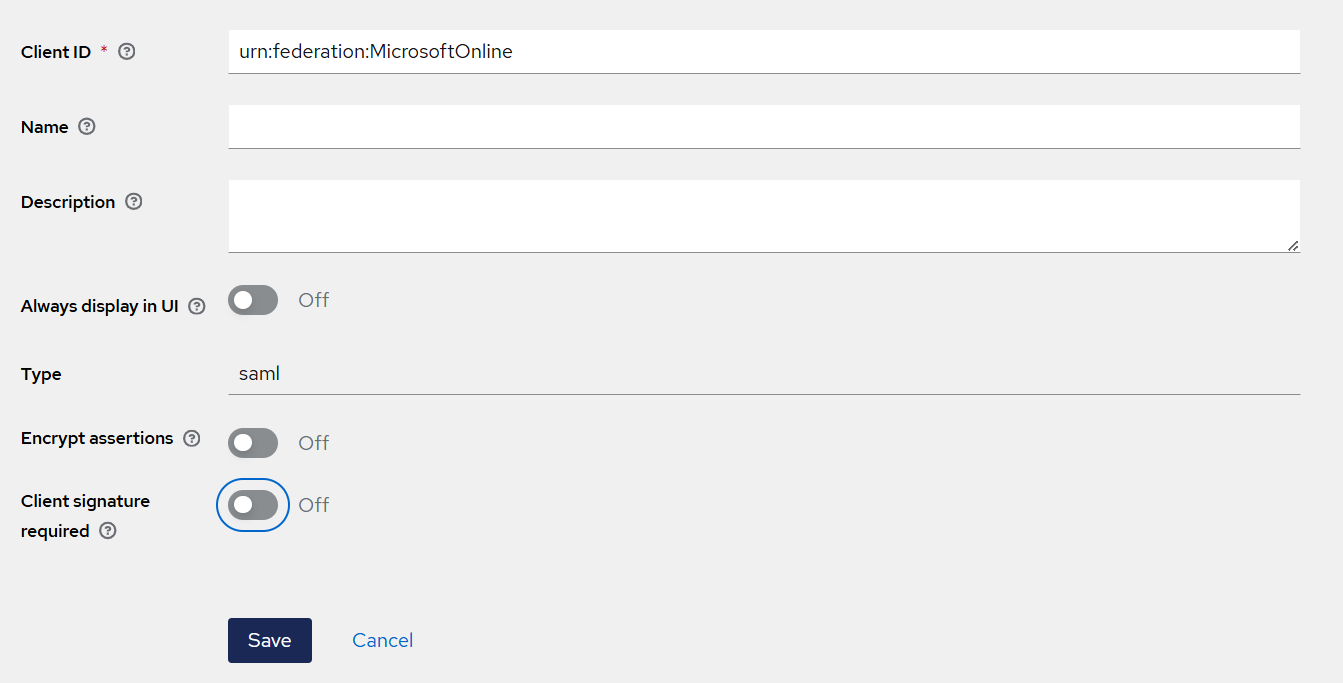
Turn Off the Client signature required toggle.
-
Click Save.
-
-
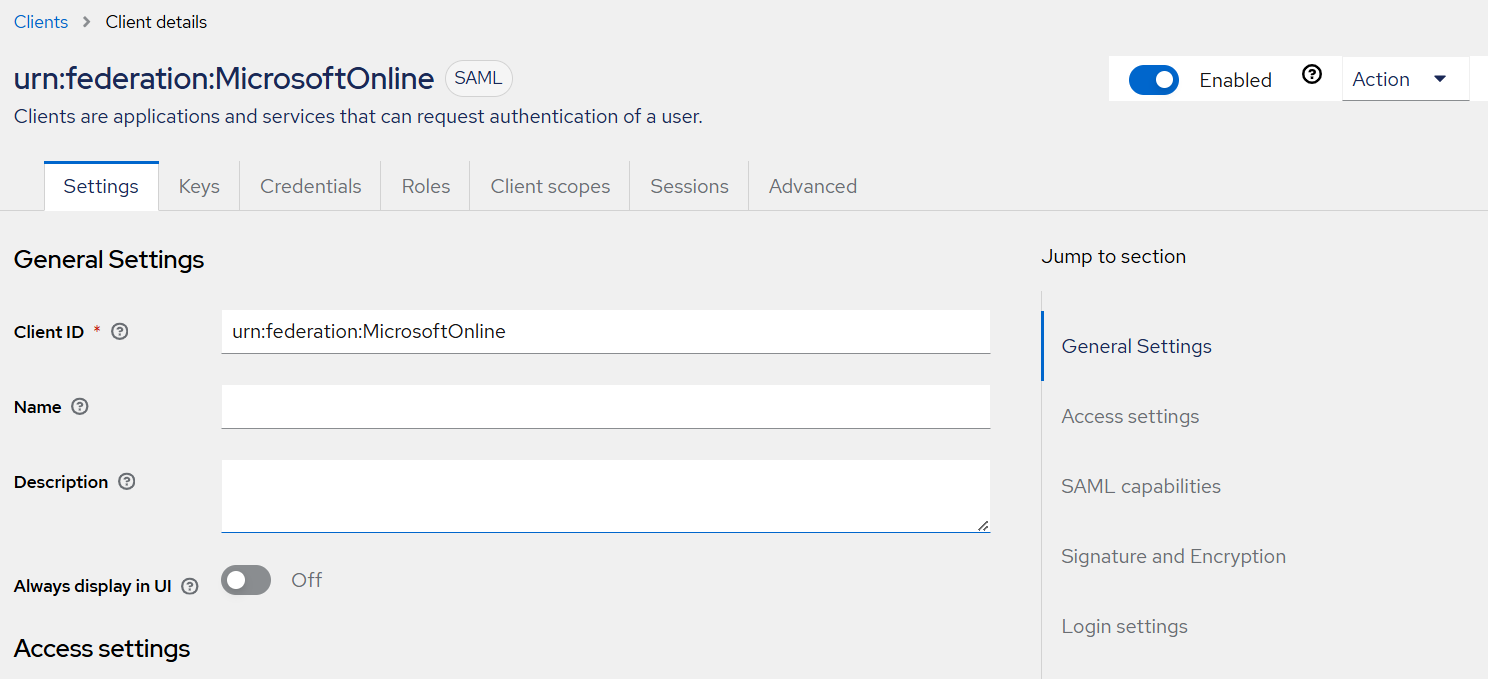
The client is created and on the Settings tab, client's settings are displayed. Perform the following steps:
-
Ensure that the Office 365 metadata information is displayed in the fields.
-
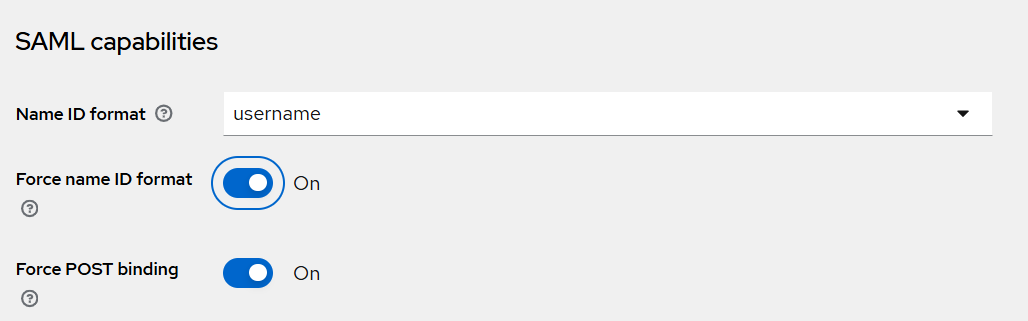
Under SAML capabilities, ensure that username is selected as Name ID Format and Force name ID format toggle is turned On.
-
At the bottom, click Save.
-
Adding Additional Return Attributes to Comply with Microsoft’s Mandatory MFA Policies
For SAML-based authentication, Microsoft Entra ID requires a federated identity provider (IdP) to comply with the configured federatedIdpMfaBehaviour values of acceptIfMfaDoneByFederatedIdp and enforceMfaByFederatedIdp settings. To meet the Microsoft Entra ID multifactor authentication (MFA) requirements, the following types of user return attributes are required to be included in SafeNet Access Exchange:
- User Attribute Mapper For NameID
- Hardcoded attribute
- User Attribute
Perform the following steps:
-
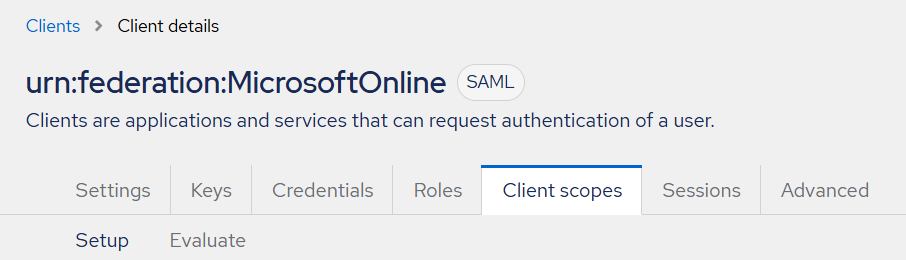
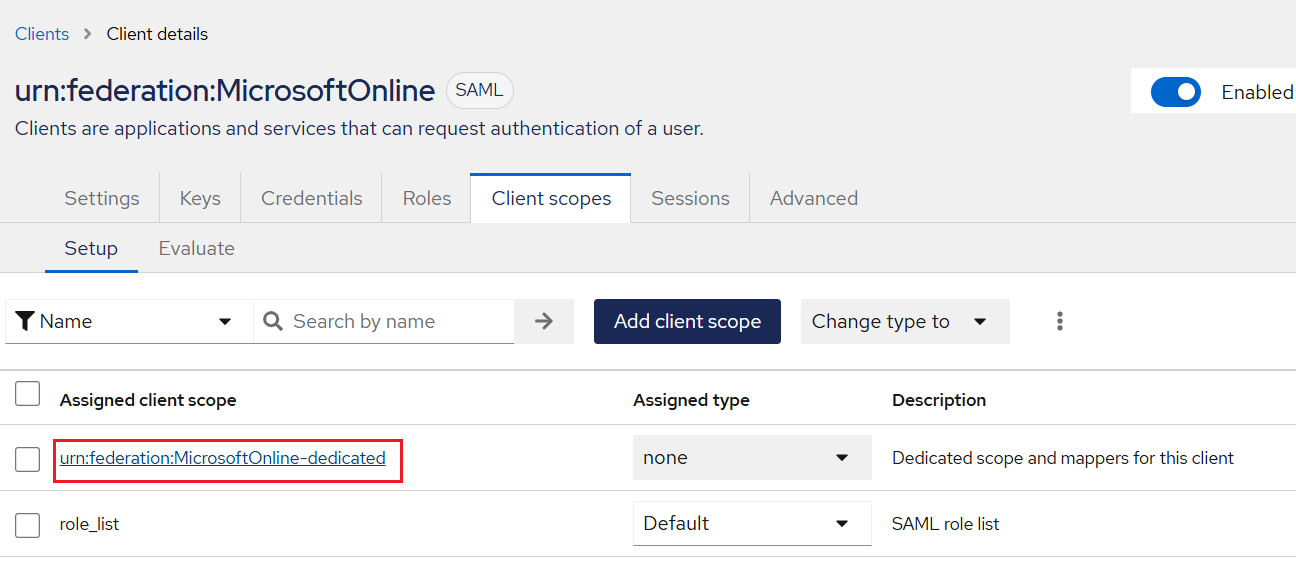
Under Client details, go to the Client Scopes tab.
-
Under Assigned client scope, click urn:federation:MicrosoftOnline-dedicated.
-
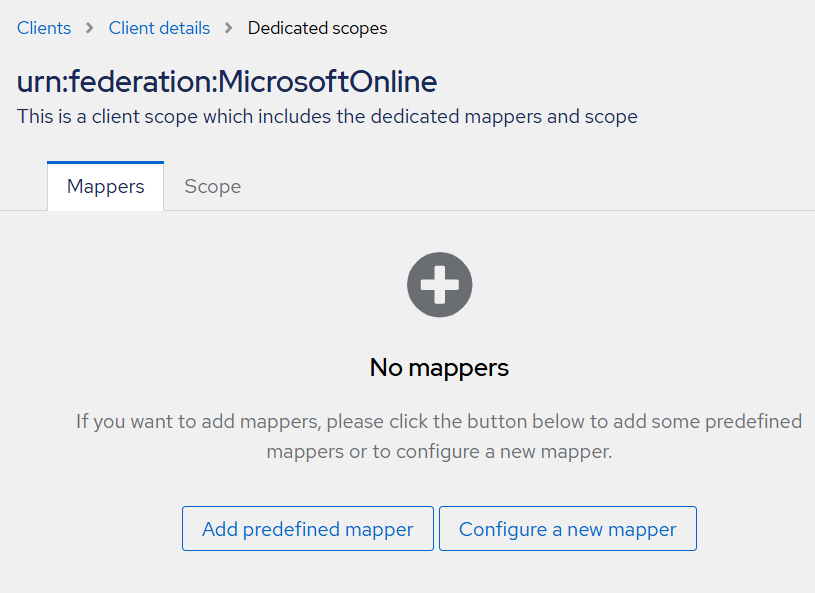
Under Dedicated scopes, on the Mappers tab, click Configure a new mapper.
-
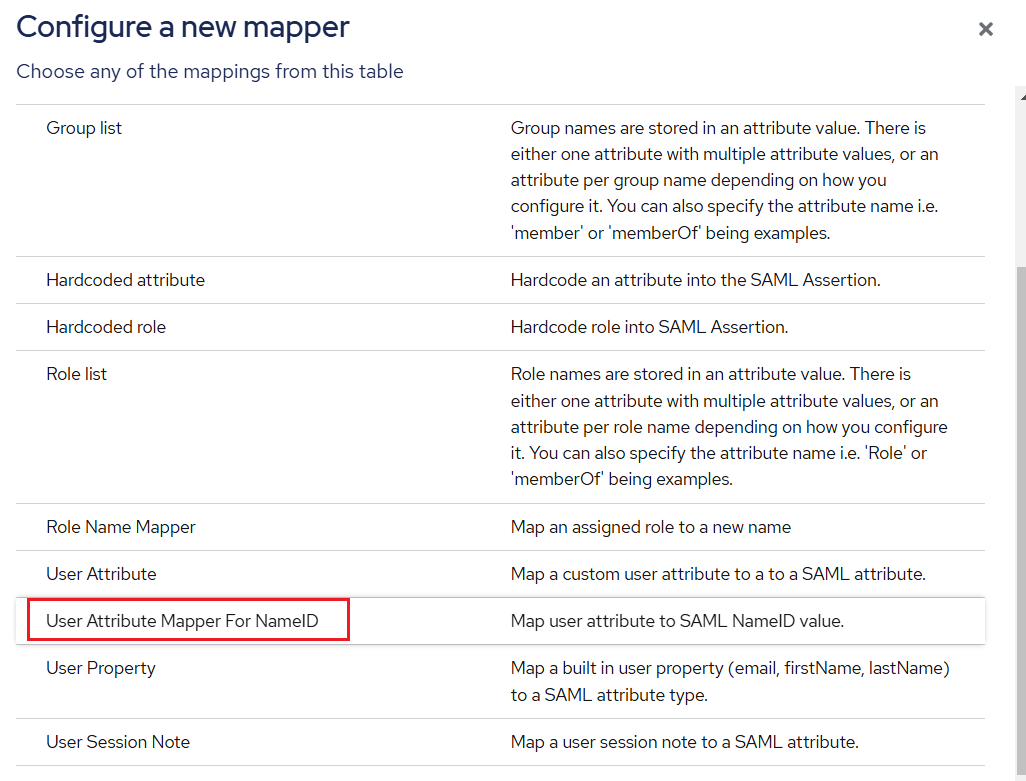
Under Configure a new mapper, select User Attribute Mapper For NameID user return attribute.
-
Under Mapper details, in the Name and User Attribute fields, enter immutableId as shown in the screenshot below, and then click Save.
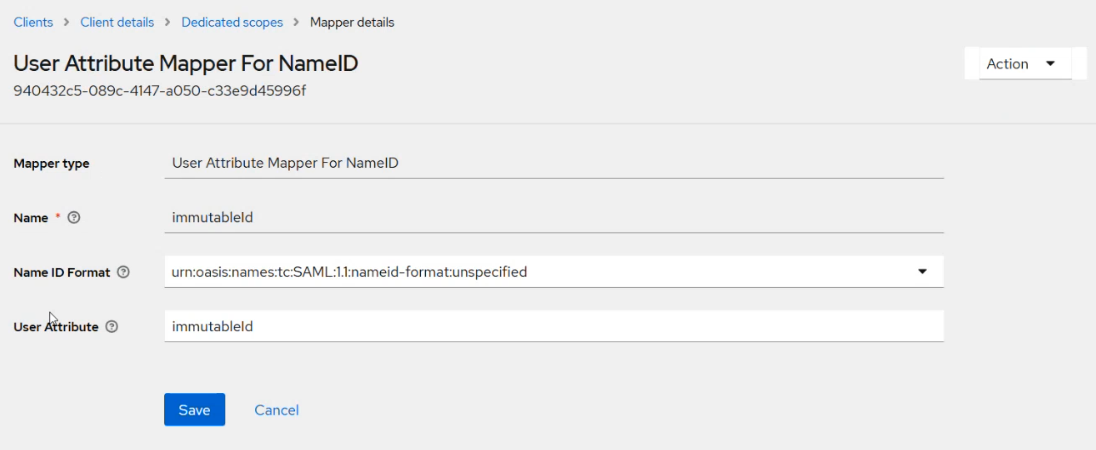
The value (immutableId) is case sensitive and must be entered as it is in the Name and User Attribute fields.
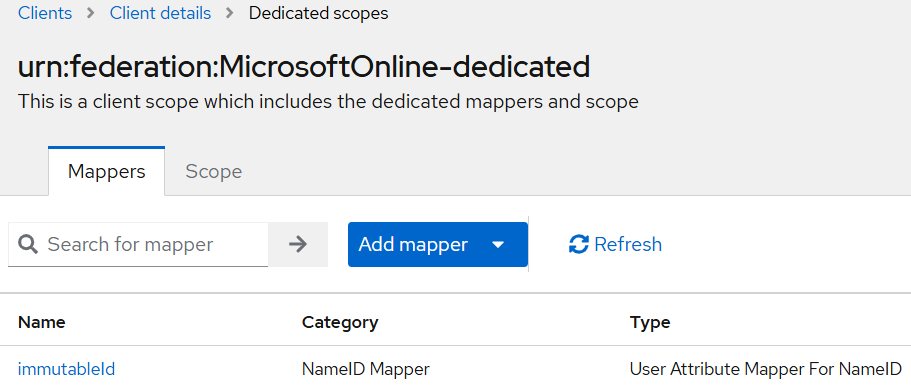
The first return attribute, User Attribute Mapper For NameID is successfully added.
-
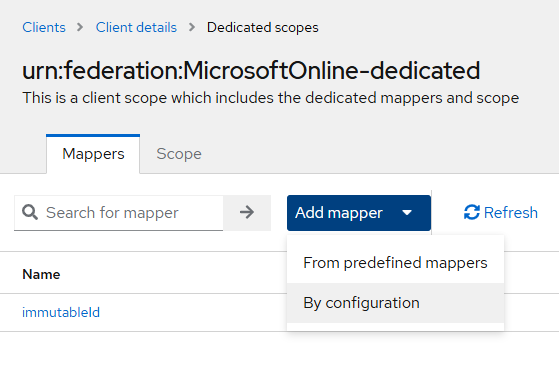
Click Add mapper > By configuration and then perform steps 4 and 5 to add the rest of the two user return attributes.
Refer to the table below the screenshot for the corresponding field values needed to add or configure the return attributes.
Mapper type Name User Attribute Friendly Name SAML Attribute Name SAML Attribute Name Format Attribute value Hardcoded attribute http://schemas.microsoft.com/ws/2008/06/identity/">http://schemas.microsoft.com/ws/2008/06/identity/claims/authenticationmethod - http://schemas.microsoft.com/ws/2008/06/identity/claims/authenticationmethod http://schemas.microsoft.com/ws/2008/06/identity/claims/authenticationmethod Basic http://schemas.microsoft.com/claims/multipleauthn User Attribute Timestamp Timestamp Timestamp Timestamp Basic -