Install and Configure SAS PCE
SAS-PCE v3.22 must be installed to enable the FIDO authentication. To enable FIDO enrollment, several configurations must be completed on the SAS Console. These are outlined in the sections below:
FIDO server settings
After completing the SAE and FIDO Server configuration, you will need to update the FIDO server settings on the SAS console to enable FIDO authentication.
Note
This configuration is performed at the Admin level and will be applied globally to all child tenants.
To configure FIDO server settings in the SAS Console, perform the following steps:
-
Log in to the SAS Console using the Admin user.
-
Navigate to System > Communications tab, click FIDO Server Settings, and then update the following fields:
-
FIDO URL: http://<<Internal IP Address>>:9080/fido2
-
SAE URL: SafeNet Access Exchange URL (https://<<public_IP_Address>>:port)
-
SAE Username
-
SAE Password

Note
The SAE Username and SAE Password must belong to a user with the generate-jwt permission. Ensure that these credentials are correctly configured in SAE before proceeding.
-
-
Click Apply to save and activate the changes.
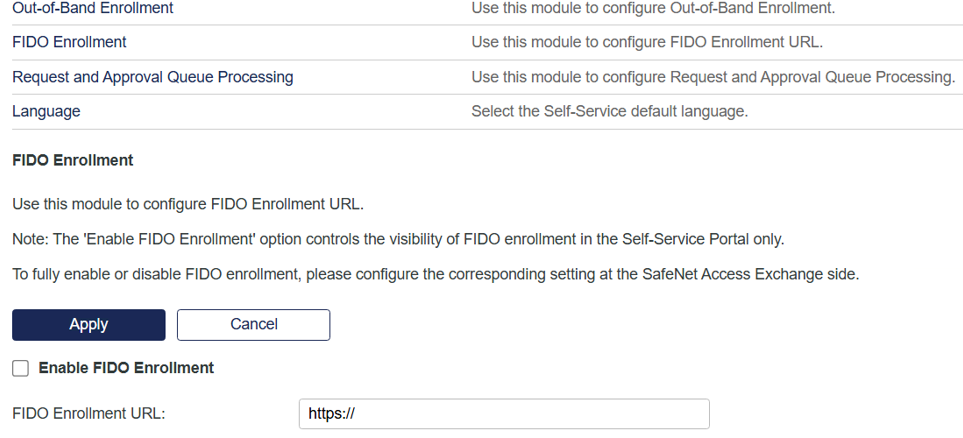
FIDO Enrollment
FIDO Enrollment is a new section available under Configuring Self-Service, which allows tenants to update the FIDO enrollment URL for their users and display of the FIDO enrollment icon.
Perform the following steps to configure the FIDO Enrollment URL and icon:
-
Log in to the SAS Console as a specific tenant administrator.
-
Navigate to Virtual Servers > Self-Service > Configuring Self-Service, and then click FIDO Enrollment.
-
Update the following settings to get the FIDO enrollment icon on the self-service portal:
-
Select the Enable FIDO Enrollment checkbox to display the FIDO enrollment icon on the self-service portal.
-
In the FIDO Enrollment URL field, enter the tenant-specific FIDO enrollment URL.
Note
The FIDO enrollment URL is generated in SafeNet Access Exchange when a realm is created for a specific tenant with the tenant-specific SAS user federation settings.
-
-
Click Apply to save the changes.
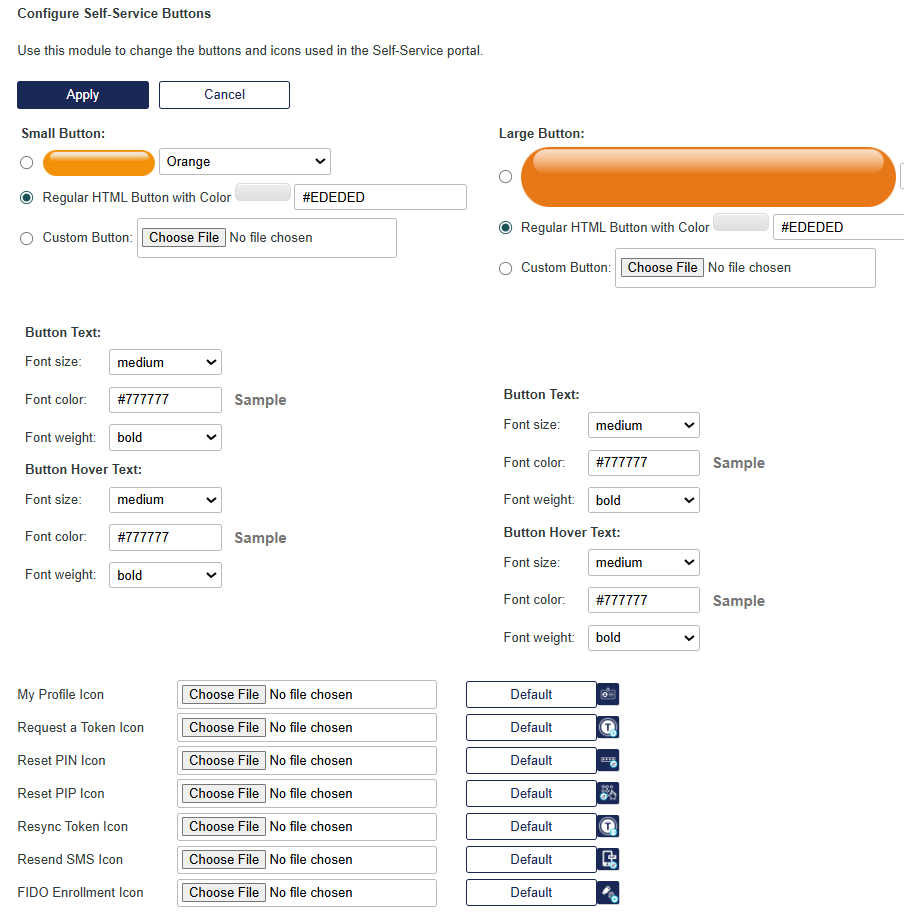
Configure FIDO Enrollment icon
The FIDO enrollment icon displayed on the Self-Service portal can be customized using the following steps:
-
Navigate to Virtual Servers > Self-Service > Configure Self-Service.
-
Scroll down to locate the FIDO Enrollment Icon setting.
-
Click Choose File to select a custom icon of your choice, or click Default to revert to the default icon if it was previously changed.
-
Click Apply to save the changes.
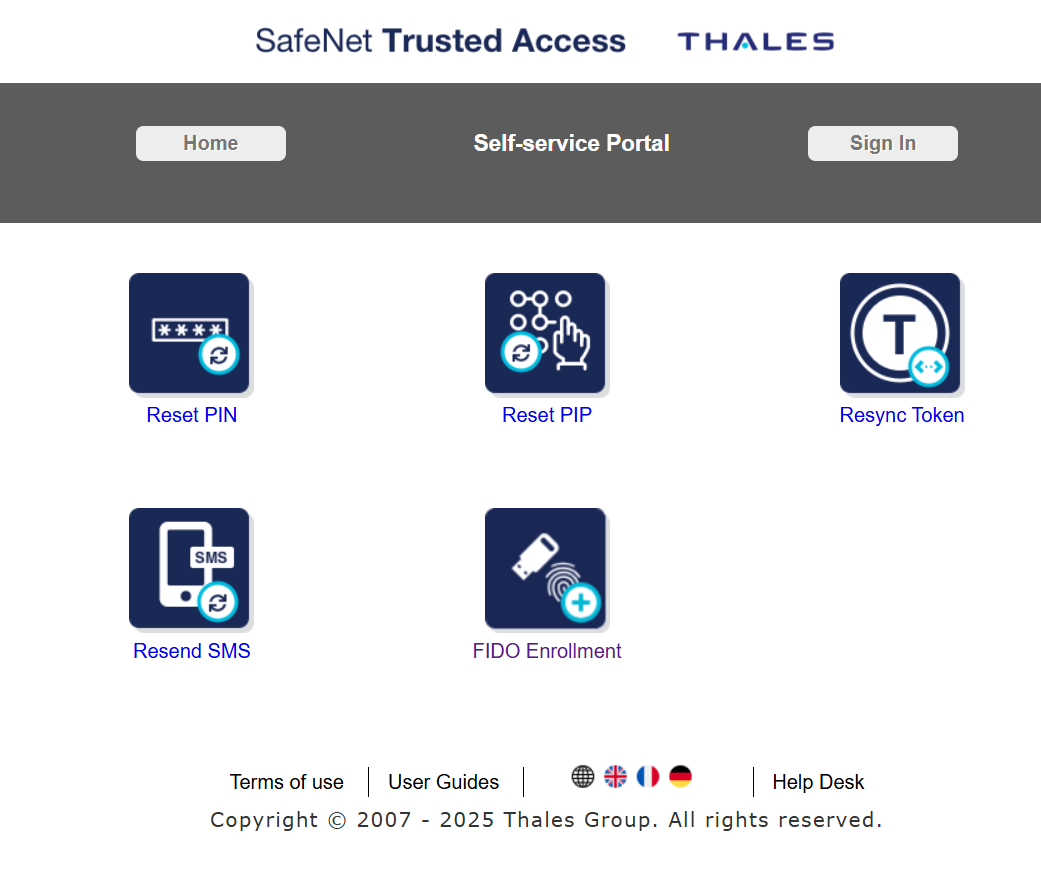
FIDO Enrollment icon on Self-service portal
Once the tenant selects the Enable FIDO Enrollment checkbox, the FIDO enrollment icon will appear on the Self-Service portal. Users can click this icon to begin the process of enrolling their FIDO token.