
Configuring CRP to use Local Authentication
The Network Policy Server can be configured to authenticate the request on the local server.
To create a Connection Request Policy (CRP) for local authentication, follow the steps:
-
Select Start > Administrative Tools > Network Policy Server.
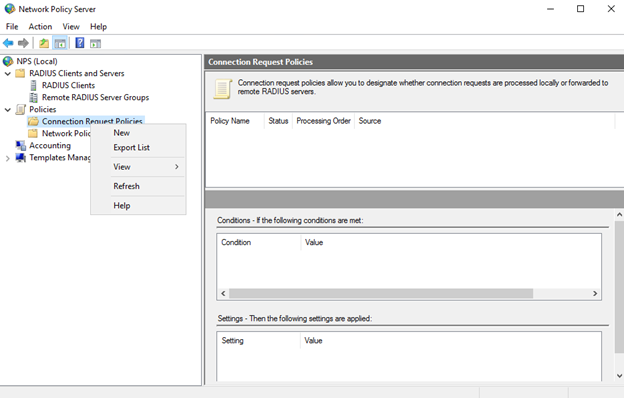
(The screen image above is from Microsoft®, Inc. software. Trademarks are the property of their respective owners.)
-
In the left pane:
-
Double-click Policies.
-
Right-click Connection Request Policies and select New.
-
-
On the New Connection Request Policy window, complete the following fields and click Next:
Field Description Policy name Enter a name for the policy. For example, Authenticate requests on this server. Type of network access server Select Unspecified from the drop-down list. 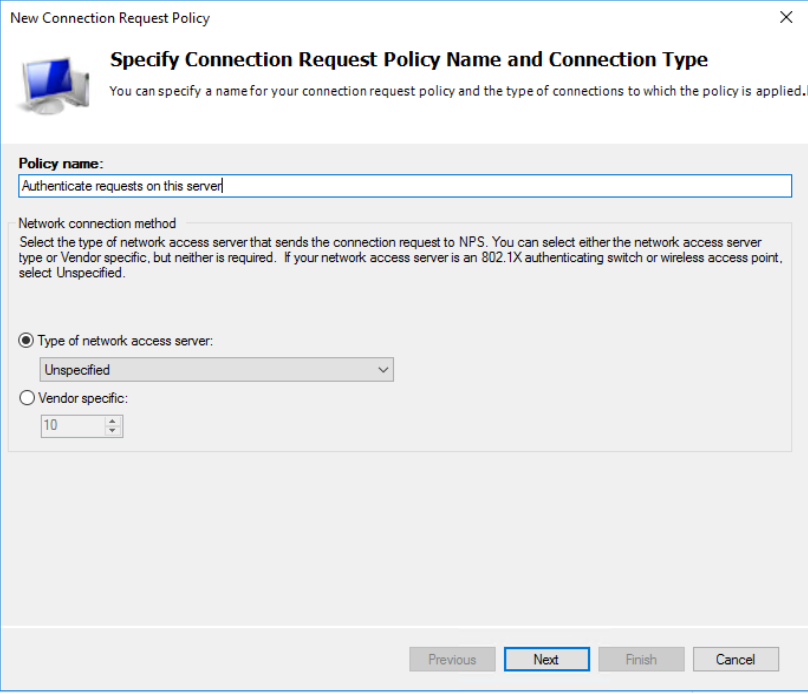
(The screen image above is from Microsoft®, Inc. software. Trademarks are the property of their respective owners.)
-
On the Select condition window, select the conditions to uniquely identify the Connection Request Policy (for example, User Name, Client IPv4 Address, Client Friendly Name) and click Add.

(The screen image above is from Microsoft®, Inc. software. Trademarks are the property of their respective owners.)
-
On the Specify Connection Request Forwarding window, select Authenticate requests on this server and click Next.
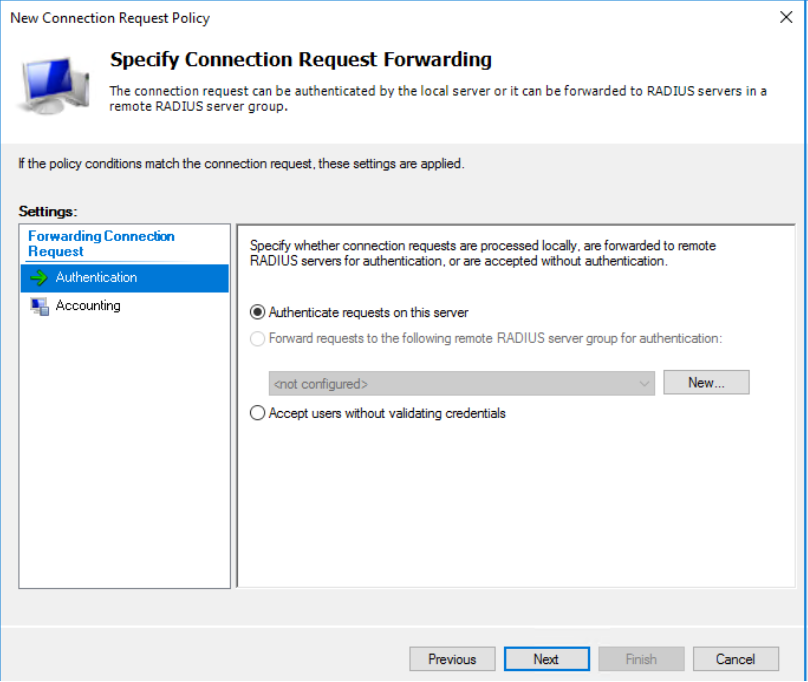
(The screen image above is from Microsoft®, Inc. software. Trademarks are the property of their respective owners.)
-
Click Next and then click Finish.
Note
To enforce the SafeNet authentication for the above policy, modify the SendAuthRequestOnThisServertoSAS registry key at HKEY_LOCAL_MACHINE\SOFTWARE\CRYPTOCard\AuthRadius to 0.