
Amazon Web Services Deployment
You can deploy a CipherTrust Manager image within Amazon Web Services (AWS).
Minimum Requirements
To deploy a Virtual CipherTrust Manager instance, the following minimum requirements apply:
System volume: 100 GB
Memory: 16 GB
vCPUs:
2 for unclustered, standalone Virtual CipherTrust Managers
4 for clustered Virtual CipherTrust Managers
NICs: 1
Note
These minimum system requirements are for a system with light to moderate load. For applications that heavily load the system, additional memory and CPU allocation are required. The system volume holds all data as well as backups.
Provisioning the AMI
AWS region-specific, and confidential Virtual CipherTrust Manager images (AMI) are obtained by provisioning. Provisioning places a CipherTrust Manager AMI in your target AWS account in the target region(s).
Use the SafeNet Cloud Provisioning System, to customize a CipherTrust Manager AMI for a specific region.
Note
Only authorized Customer Support Portal users can make provisioning requests.
Login to the Thales Customer Support Portal.
Navigate to the My Provisioning Requests page, through the Tools > Provisioning Requests menu.
Click Create Provisioning Request.
Select CipherTrust Manager from the Product Name dropdown.
Select the desired Product Version from the dropdown.
Note
We recommend deploying the most recent version for the latest security fixes and most current features.
Select the desired AWS Region from the dropdown.
Provide your AWS Account Number.
(Optional) If desired, type in the names of Additional Regions in the text field, to deploy AMIs in more than one region.
(Optional) If desired, adjust the Priority. The default priority is 3-Medium.
Click Submit.
A Thales client services engineer will receive and work on the request.
When your provisioning request is completed, you will an email notification with the subject line Cloud Provisioning Request Complete. Alternatively, you can periodically check the provisioning request status directly on the My Provisioning Requests page.
Retrieve the AMI ID from the completed provisioning request.
Navigate to the My Provisioning Requests page, through the Tools > Provisioning Requests menu.
Click on the name of the completed provisioning request. The Status column indicates requests that are completed.
Proceed to deploy the Virtual CipherTrust Manager image.
Deploying in AWS
This section provides the steps for deploying a Virtual CipherTrust Manager instance in AWS.
Prerequisites
A provisioned Virtual CipherTrust Manager AMI.
If using a Windows client use PuTTY or similar utility to SSH to your CipherTrust Manager instance as KeySecure Administrator (ksadmin).
If needed, use PuTTYgen or similar utility to format the SSH Key Pair. We support OpenSSH format and RSA key algortihm for the public key, and OpenSSH, PKCS1, or PKCS8 format for the private key. We recommend RSA 4096, with RSA 2048 as a minimum size for adequate security.
If using a Linux client use SSH to login as KeySecure Administrator (ksadmin).
To launch a CipherTrust Manager instance in AWS
More detailed descriptions of the launch instance wizard settings are available in Amazon EC2 documentation.
Sign in to your AWS account at the AWS portal at: https://aws.amazon.com
In the Compute group, select EC2 service.
On the AWS top bar and to the right, make sure you select the AWS Region you provisioned for your AMI.

Under the Instances>Launch Instance
Provide a Name and Tags for the new instance, if desired.
Select My AMIs and search for the AMI (e.g. ami-1f6b5b60) that was provisioned for you by the SafeNet Cloud Provisioning System.
Next to the image name, click on Select.
The AWS instance launch page opens.
In the Instance Type section, choose a size that meets the minimum requirements.
Select which Key Pair (login) option to use. We support OpenSSH for the public key format, and OpenSSH, PKCS1 or PKCS8 for the corresponding private key format. Valid options are:
Choose an existing key pair from the drop-down list. If your key pair is not on this list, you can import it here:
Services > EC2 > Network and Security > Key Pairs
Create a new key pair. (This option allows you to download your own key pair.)
Warning
It is important that you have access to the key pair you select, otherwise you will not have permissions to perform administrator operations like performing upgrades, advanced logging or an appliance reset.
In the Network Settings section.
If applicable to your AWS account settings, you are presented with a setting for Networking platform, which allows you to choose Virtual Private Cloud (VPC).
In most cases, select an existing VPC and Subnet. You can also create a new Subnet.
Set Auto-assign Public IP to Enabled.
Under Firewall (security groups), create a new security group or re-use a previously created group.
Note
Refer to Network Security Groups. Consider adding all of the recommended rules.
To launch the CipherTrust Manager, you need at a minimum Port 22 inbound/outbound for ksadmin's SSH connection.
For deployments from most AWS locations, you need port 443 inbound for an HTTPS connection to the CipherTrust Manager GUI, CLI, or REST API. For deployments from AWS China, we recommend port 9443 inbound for an HTTPS connection to the CipherTrust Manager GUI, CLI, or REST API.
In the Configure Storage section, select the desired Size (GiB).
Enter 100 GiB if this is for production.
Enter 50 GiB if this is for evaluation.
At the bottom of the screen there is a section Advanced Settings.
Any information that you need configured before the first boot must be entered here in the User data area. See Plan Configuration Settings for Cloud Init.
In the Summary section to the right:
Review your launch configuration settings.
Make any changes necessary on the sections to the left.
After your review, select Launch instance.
It can take a several minutes for your instance to launch.
Select View Instances to view the state of your instance as it is being launched. You may need to search for the name of your instance in the Instances table if it is among many others.
At this point, if you wish to connect as System Administrator (ksadmin) to perform system level duties, duties such as performing network configurations, system upgrades, continue with the next step.
Note
Refer to Groups for a more detailed list of ksadmin duties.
Otherwise, browse to step 18 to connect to the CipherTrust Manager Web Page.
Select your instance in the table and then select Connect.
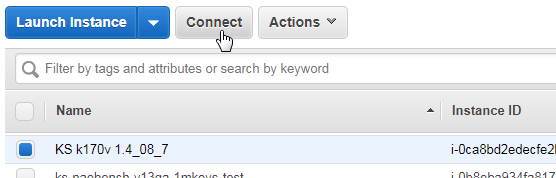
The Connect To Your Instance dialog box appears:
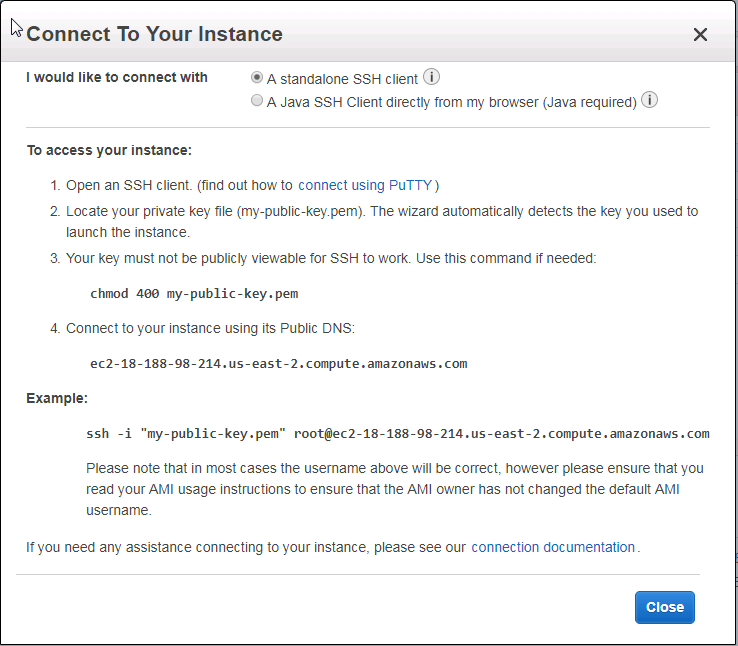
Copy the instance Public DNS string, for example: ec2-54-89-148-184.compute-1.amazonaws.com
If using PuTTY, begin a new session.
Paste the Public DNS in the Host Name (or IP address) field and preface this string with "ksadmin@".
Set the Connection Type to SSH.

In the Category pane:
Select Connection > SSH > Auth.
Select Browse and navigate to the folder with your Private Key.
Select your Public Key file name. The file name and path is automatically places in the Private key file for authentication field.
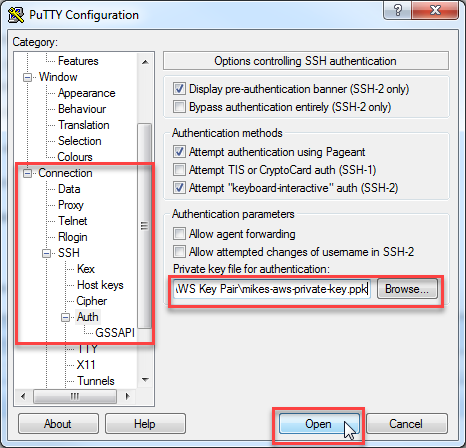
Select Open. The following ksadmin screen appears:
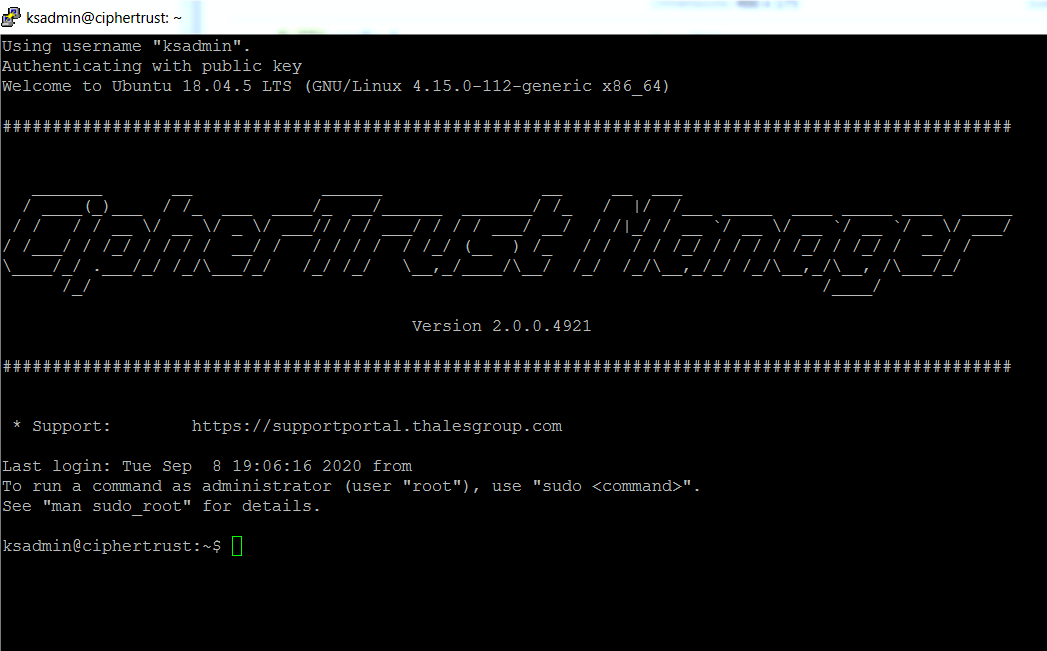
Note
If you are unable to connect to your instance using PuTTY, go to: https://docs.aws.amazon.com/AWSEC2/latest/UserGuide/putty.html for further assistance.
Proceed to connect to the CipherTrust Manager GUI. The steps depend on which AWS Marketplace you launched from.
To connect to the CipherTrust Manager GUI from most AWS Marketplace Locations
Note
There are different steps to connect to the CipherTrust Manager GUI from AWS China.
Connect to the CipherTrust Manager Web Page.
Copy the IPv4 Public IP or IPv6 IP address shown in the Instances > Description tab of your AWS instance.

Browse to
HTTPS://<ip address>. The Log In screen appears.
Log in using the initial default credentials: Username = admin, Password = admin
The following notice is displayed:

Note
If the default credentials do not work, you may need to retrieve an autogenerated password, as described in Changing the Initial Password.
Enter a new password using this default Password Policy:
Min length: 8
Max length: 30
Min number of upper cases: 1
Min number of lower cases: 1
Min number of digits: 1
Min number of other characters: 1
A new Login screen appears.
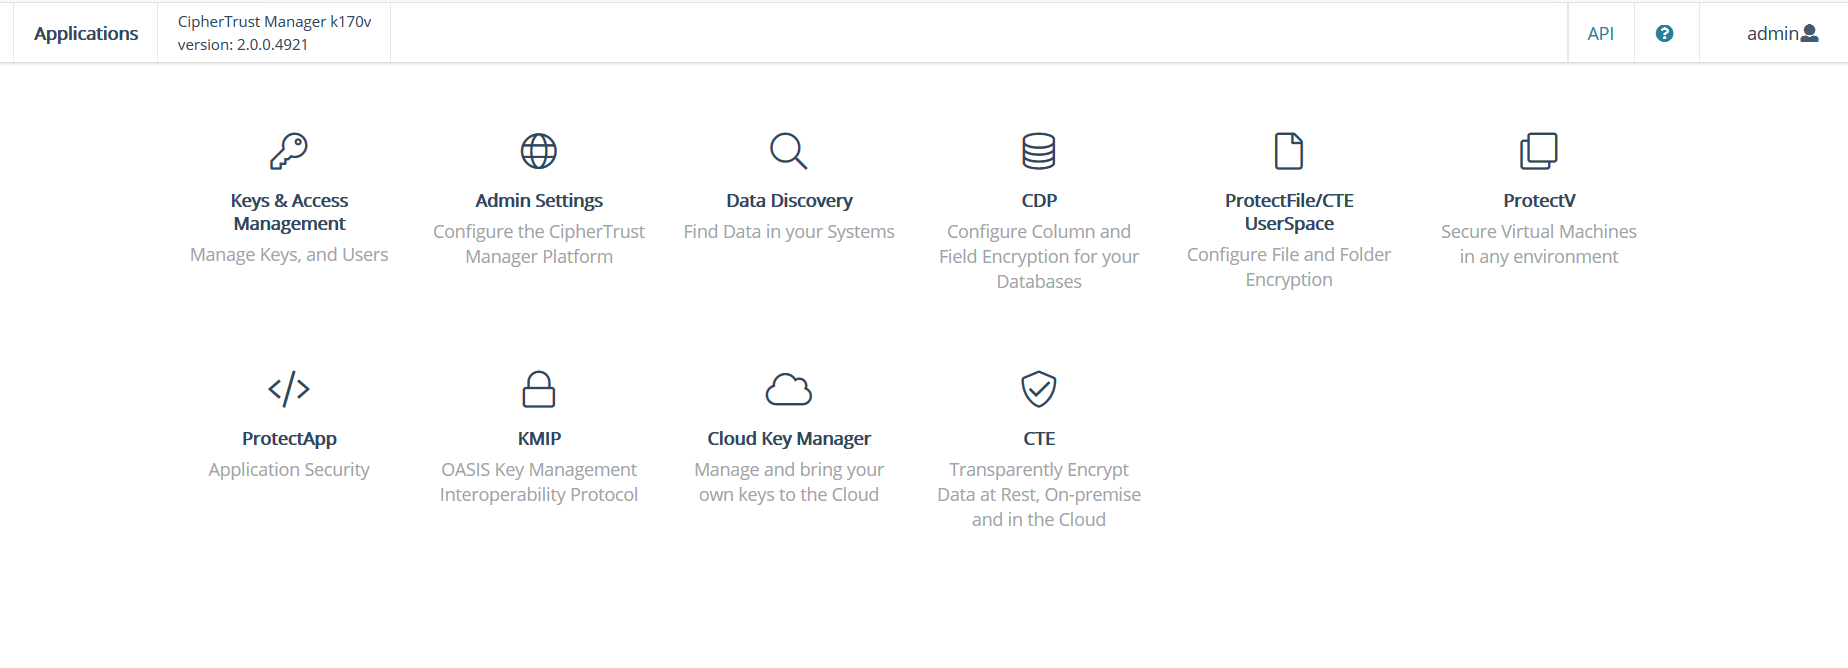
Using your new password, log in again. The CipherTrust Manager Web Page appears.
At this point, it's strongly recommended to configure an NTP server.
Navigate to Admin Settings > NTP.
Enter in an NTP Server hostname.
For an authenticated NTP Server, enter in a symmetric key value in the NTP Key field.
Click the +Add NTP Server button.
See Network Time Protocol Server Configuration for more details.
Congratulations! You have successfully deployed your Virtual CipherTrust Manager instance.
Note
Virtual CipherTrust Manager launches in Community Edition, with some restrictions on functionality. You can activate a 90 day trial evaluation for full functionality. To activate your instance with a trial evaluation, or a term or perpetual license, see Licensing.
To connect to the CipherTrust Manager GUI from AWS China
There are different steps to connect to the CipherTrust Manager GUI from other AWS marketplace locations.
If you are launching from AWS China, you must change the web port from the default 443 value to 9443.
Launch a Linux or Windows EC2 instance in the same VPC as the Virtual CipherTrust Manager, following AWS documentation.
This instance will act as a client to the Virtual CipherTrust Manager to issue the command to change the web port.
Obtain and install the ksctl CLI tool on the Linux or Windows EC2 instance. You can obtain ksctl from either an existing CipherTrust Manager or through Thales customer support.
Copy the Private IPs address shown in the Instances > Description tab of your AWS instance.
In the ksctl config.yaml file, apply the following settings:
KSCTL_USERNAME: admin
KSCTL_PASSWORD: admin
KSCTL_URL: https://<Private_IP_address_from_AWS>:443
KSCTL_NOSSLVERIFY: true
In ksctl, change the password for
adminfrom the default, providing the config.yaml file.The default Password Policy applies:
Min length: 8
Max length: 30
Min number of upper cases: 1
Min number of lower cases: 1
Min number of digits: 1
Min number of other characters: 1
To change the admin password:
ksctl changepw --new-pw <desired-password> --confirm-pw <desired-password> <path_to_config_file>config.yamlYou are asked to confirm this action.
Run the following command to change the web port to 9443:
ksctl interfaces modify --name web --port 9443You are asked to confirm this action, and to acknowledge that the service will become unavailable temporarily.
Use a laptop or PC outside the VPC to connect to the CipherTrust Manager Web Page by navigating to
HTTPS://<public_ip_address>:9443. The Log In screen appears.Using your new password, log in as admin. The CipherTrust Manager Web Page appears.
At this point, it's strongly recommended to configure an NTP server.
Navigate to Admin Settings > NTP.
Enter in an NTP Server hostname.
For an authenticated NTP Server, enter in a symmetric key value in the NTP Key field.
Click the +Add NTP Server button.
See Network Time Protocol Server Configuration for more details.
Congratulations! You have successfully deployed your Virtual CipherTrust Manager instance.
Note
Virtual CipherTrust Manager launches in Community Edition, with some restrictions on functionality. You can activate a 90 day trial evaluation for full functionality. To activate your instance with a trial evaluation, or a term or perpetual license, see Licensing.
Enhanced Networking
The CipherTrust Manager AMI ships with Elastic Network Adapter (ENA) enabled. ENA provides high-performance networking on supported EC2 instance types. For more information visit https://docs.aws.amazon.com/AWSEC2/latest/UserGuide/enhanced-networking.html.